

Drawing Projector for Kids,Arts and Crafts for Kids,Include Drawing Board,Crayons,Coloring Book,Stickers etc,Kids Toys for Age 3-5 Year Old Girls Christmas & Birthday Gifts (Mermaid Drawing Box)
US$13.20
Price when purchased online
Free shipping
Free 30-day returns
Sold and shipped by wintersediting.com
We aim to show you accurate product information. Manufacturers, suppliers and others provide what you see here.
US$13.20
Price when purchased online
Free shipping
Free 30-day returns
Sold and shipped by wintersediting.com
Free 30-day returns Details
Product details
| Management number | 224583634 | Release Date | 2026/05/09 | List Price | US$13.20 | Model Number | 224583634 | ||
|---|---|---|---|---|---|---|---|---|---|
| Category | |||||||||
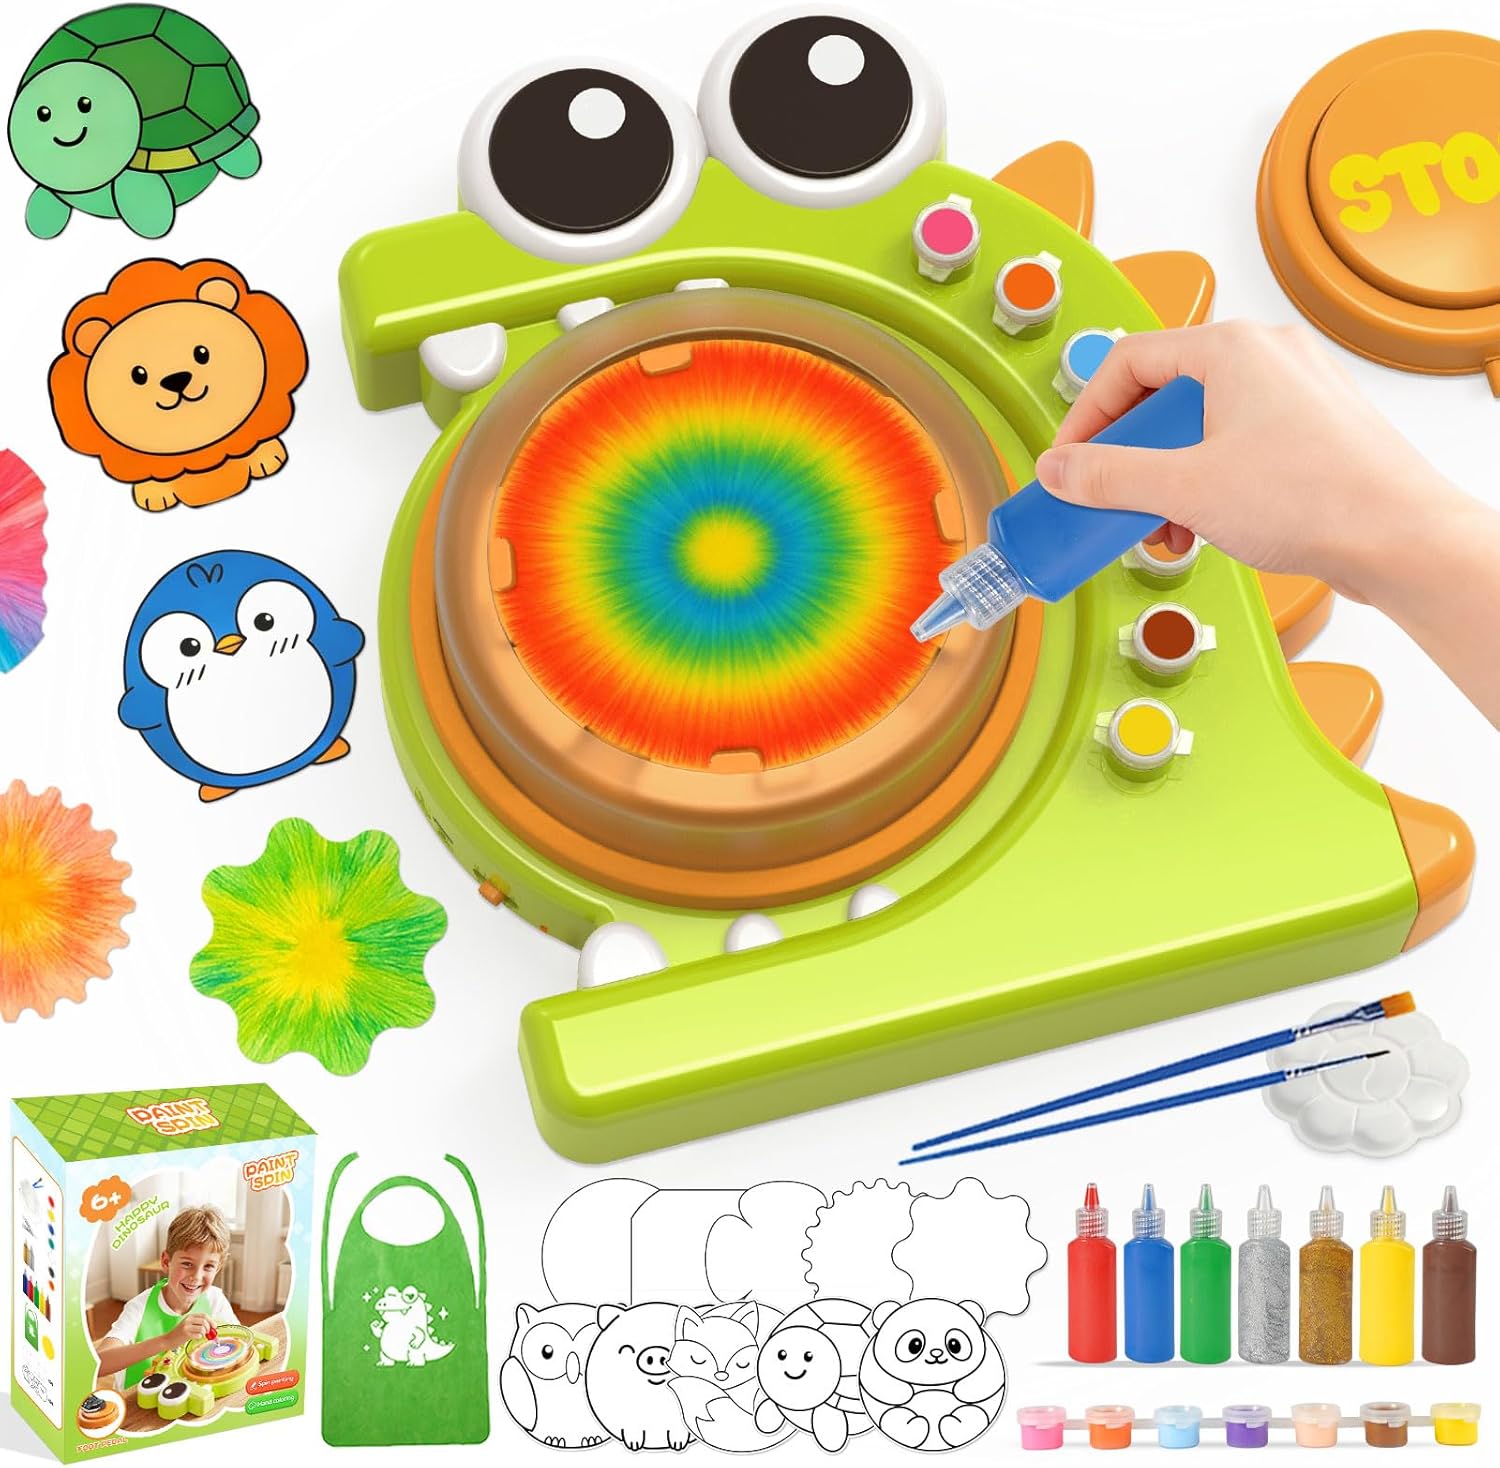
- Complete Drawing Projector Set - The drawing projector for kids includes a mermaid projector table, 9 projection discs featuring 54 patterns, a comprehensive art supply kit (12 watercolor markers, 12 crayons, 12 colored pencils, and 1 stamp), a coloring book, and a drawing pad, providing everything your child needs for creative fun.
- Engaging Learning Experience - This kids drawing projector allows little artists to insert a disc, project the image, and trace it effortlessly. The table doubles as a doodling and drawing board, promoting artistic exploration while building essential motor skills.
- Versatile Art Supplies - Not just a tracing tool, this art set enables girls aged 3-5 to practice sketching techniques and color their coloring books with high-quality materials, enhancing their creative expression and imagination.
- Ideal Gift for Young Artists- Perfect as girl birthday gifts or toys for girls, this drawing projector captivates children's attention and simplifies the art of drawing, making it an excellent choice for special occasions and holidays.
- Responsive Customer Support- We are committed to your satisfaction. If you have any questions or concerns regarding our kids drawing projector, please contact us, and we will respond within 24 hours to ensure a positive experience.


| ASIN | B0DJNH8B4T |
|---|---|
| Color | Mermaid Drawing Kit V5 |
| Occasion | Baby Shower, Birthday |
| Brand Name | Syahro |
| Item Weight | 1.27 Kilograms |
| Orientation | Horizontal |
| Manufacturer | Shantou Rongyi Toys Co., Ltd. |
| Model Number | Draw-SH-100215 |
| Material Type | Plastic |
| Mounting Type | Tabletop Mount |
| Frame Material | Plastic |
| Item Type Name | No |
| Number of Packs | 1 |
| Target Audience | Parent |
| Writing Board Type | Doodle Board |
| Additional Features | Zeichnungsprojektorfunktion |
| Warranty Description | 6 months warranty |
| Item Dimensions W x H | 13"W x 15.55"H |
| Manufacturer Part Number | Draw-SH-100215 |
| Recommended Uses For Product | School |


Bestseller ranking
Criminal Procedure


Customers who viewed this product also viewed
Drawing


Correction of product information
If you notice any omissions or errors in the product information on this page, please use the correction request form below.
Correction Request Form